

This will be not an Arch Vis post, but I think that it is worth to write some words about it here.
For the last year I worked on the script for creating and breaking 3D planks. I did it mostly for
myself, to see if I'll be able to create something little more complicated in MAXScript. And I think
that I have succeeded. Now, I'm proudly present my first script - Plank Master!
Below is a brief description of the script and installation instructions, but I want to mention a few
things. First of all, I release this script only for non-commercial use. Sorry guys, but I have only
Student version of 3ds Max. Second thing, as I mentioned earlier, this is my very first script, so
it's not perfect. I want to believe that there is no bugs, but if you find any, please contact me,
write e-mail with short description to show me where I was wrong. I want to develop my script further
to meet your expectations for such scripts. But remember, I'm not responsible for any data loss, but I
think that there should be no major issues. The last thing. If you have any questions, suggestions
about script, ideas and functions that you want to see in future releases, or you just want to chat,
please email me at: piotr_kasprzak7@wp.pl or limbo.limb@gmail.com. I'll try to answer on every email.
And, if you used Plank Master script in your works (still images, animations, short films etc.),
please, let me know. I'll be happy to see what you create, and it will be nice to know who uses my
script and how it is used.
That's it, I think. Now, if you are intrested, please read the installation instructions and this
short overview, download Plank Master and have fun with it!
Download Plank Master v1.0
Installation:
Copy XMasters folder to C:\Program Files\Autodesk\3ds Max 201x\UI
Copy the icons from 'icon' folder to C:\Program Files\Autodesk\3ds Max 201x\UI\Icons
Start 3ds Max
Go to MAXScript --> Run script... --> find Plank Master v1.0 Loader macroscript (location where you
put XMasters folder "C:\Program Files\Autodesk\3ds Max 201x\UI") and run it.
Then go to Customize --> Customize User Interface... --> choose Toolbars --> create new toolbar -->
from Category dropdown list choose XMasters --> drag&drop PlankMaster to your toolbar.
Script was written and tested on 3ds Max 2012.
Overview:
After running Plank Master script you should see rollout with few subrollouts in it.
Let's talk something more about it.
I'll not comment on first subrollout because it's nothing fancy - it is just funny script logo
picture.
Modify Panel:
It's main subrollout where you create 3d plank.
Dimensions group
Length: defines length of 3d plank.
Width: defines width of 3d plank.
Height: defines height / thickness of 3d plank.
Mapping: applies box mapping to 3d plank if it's checked.
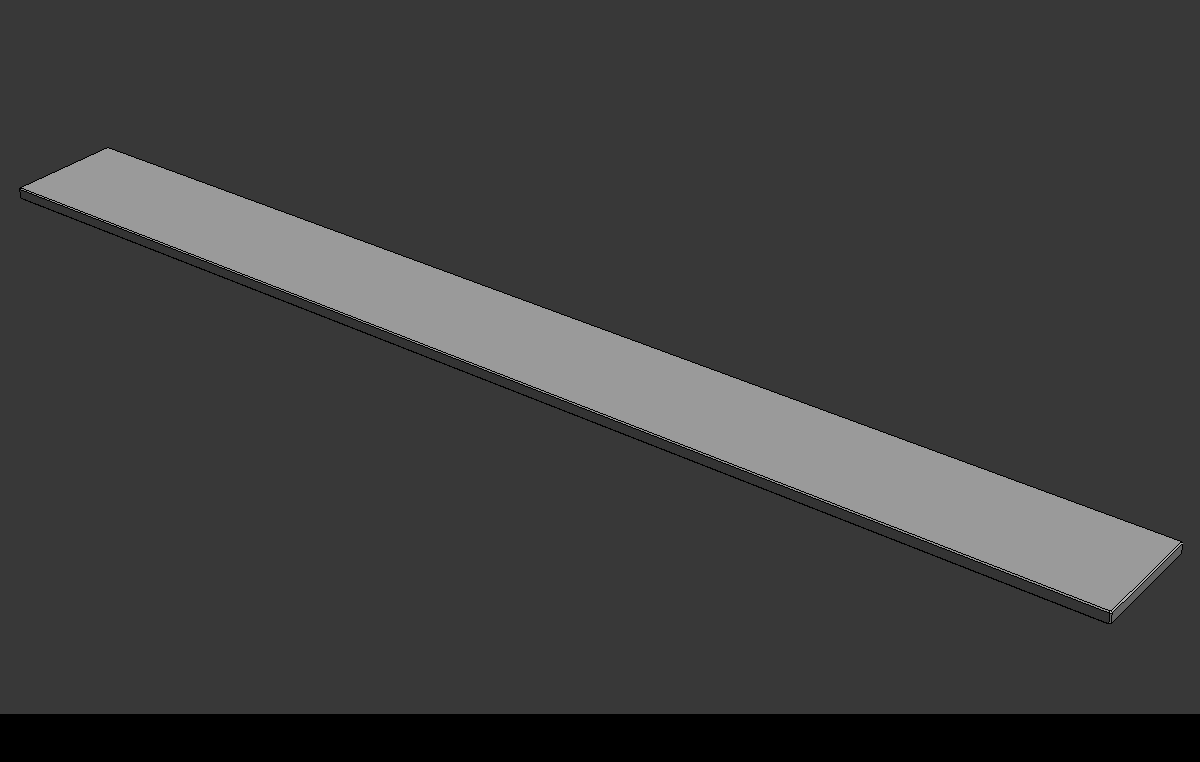
Optimized: creates optimized version of 3d plank if it's checked. You'll see the result after pressing
Make Plank button.
Low-Poly: creates low-poly version of 3d plank if it's checked. You'll see the result after pressing
Make Plank button.
Chamfer Value group
Chamfer: defines amount of edge chamfers.

Segments: defines amount of chamfer segments.

Make Plank: creates 3d plank based on dimensions and chamfer values as well as the 'Optimized' and
'Low-Poly' checkboxes. If neither of checkboxes are checked, default, multi-segment 3d plank will be
created.
If 'Optimized' is checked then 3d plank will be created without any additional segments.
If 'Low-Poly' is checked then low-poly plank will be created.

Delete Current: deleting currently created 3d plank.
X: deleting all created 3d plank. Be careful with this button.
Presets:
It's subrollout for creating plank from predefined presets.
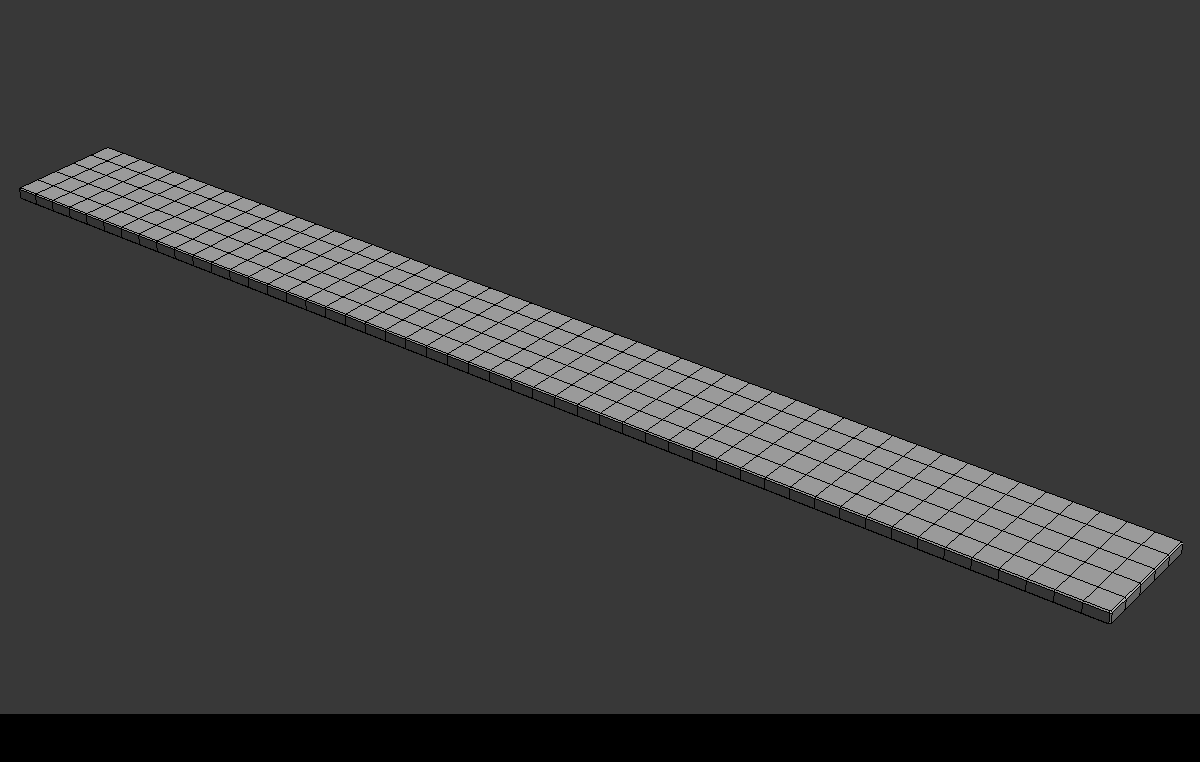
Sculpt-ready: creates 3d plank which is evenly divided and ready to export to 3d sculpting
application.

with chamfer: creates sculpt-ready 3d plank with chamfered edges. Possible only if 'Sculpt-ready'
checkbox is checked.

Standard group
These buttons are for creating predefined 3d planks. Dimensions of 3d planks are specified inside
buttons.
Special group
cube10: creates cube with an edge length of 10 units.
Presets rollout will be improved in future releases.
Deformations:
It's subrollout for adding deformations.
Bend group
Bend: adds 'Bend' modifier to 3d plank.

Angle: defines angle of bending.
>: opens 'Bend Menu'.
Bend Menu:
Direction: defines direction of bending.
Bend Axis group
Set Axis: defines axis of bend ie. X,Y or Z
Noise: adds 'Noise' modifier to 3d plank.

Seed: changes seed of noise.
>: opens 'Noise Menu'.
Noise Menu:
Fractal: adds fractal noise if checked.
Roughness: defines amount of fractal noise roughness.
Iterations: defines iterations of fractal noise.
Noise Strength group
X axis: defines amount of noise in X axis.
Y axis: defines amount of noise in Y axis.
Z axis: defines amount of noise in Z axis.
Skew group
Skew: adds 'Skew' modifier to 3d plank.

Amount: defines amount of skew.
Twist group
Twist: adds 'Twist' modifier to 3d plank.

Angle: defines twist angle.
Cut & Break:
In this subrollout you can slice or break your 3d plank.
SliceOn: adds 'Slice' modifier and allows to make further modifications.
SliceOff: removes 'Slice' modifier from 3d plank.
Slice Parameters group
Slice!: Cuts 3d plank after pressing. Slice is based on 'Type' spinner and checkboxes placed below
spinner.

Break!: Breaks 3d plank after pressing. Break is based on 'Type' spinner and checkboxes placed below
spinner.
Type: defines type of slice / break.
Explode: explode 3d plank on two separate pieces after slicing / breaking.
Chamfer: chamfers edges after slicing.

Details: creates plane object after slicing / breaking which can be used to simulate "broken wood
splinters" using image with alpha channel.

TessCut: tesselate sliced / breaked faces.

That's how looks broken 3d plank with all checked checkboxes.

Cut & Break PRO:
This is subrollout for creating more complicated broken planks.
Create Cutter: creates cutter object which will cut 3d plank.
Delete Cutter: deletes cutter object.
Parameters group
Outside Cutter: leaves part of 3d plank that is outside cutter object.
Inside Cutter: leaves part of 3d plank that is inside cutter object.
Delete Cutter: deletes cutter object after cutting if checked.
Pick Stock: pick 3d plank which should be cutted.

Info:
In this rollout you can find some informations about me ie. my email address, portfolio and blog web
links as well as the link to Creative Common licence.
That's it for now. Hope you like my script. If you have some questions, post it below or by email. Have fun!
PS: There is one small bug. Detail checkbox state work not well with Plank Presets. Please, do not use
Details checkbox on Planks created from Presets rollout.
Below you can find examples of planks created with Plank Master.


Below you can find examples of planks created with Plank Master.

awesome ^^
ReplyDeleteThanks!
ReplyDeleteThanks!
ReplyDeleteNice script and you have same name as famous Polish speedway rider !
ReplyDeleteThanks! About my name - that is true. :)
ReplyDeleteThis is a very useful script and I look forward to trying it out.
ReplyDelete